How to assemble background
背景の組み立て方


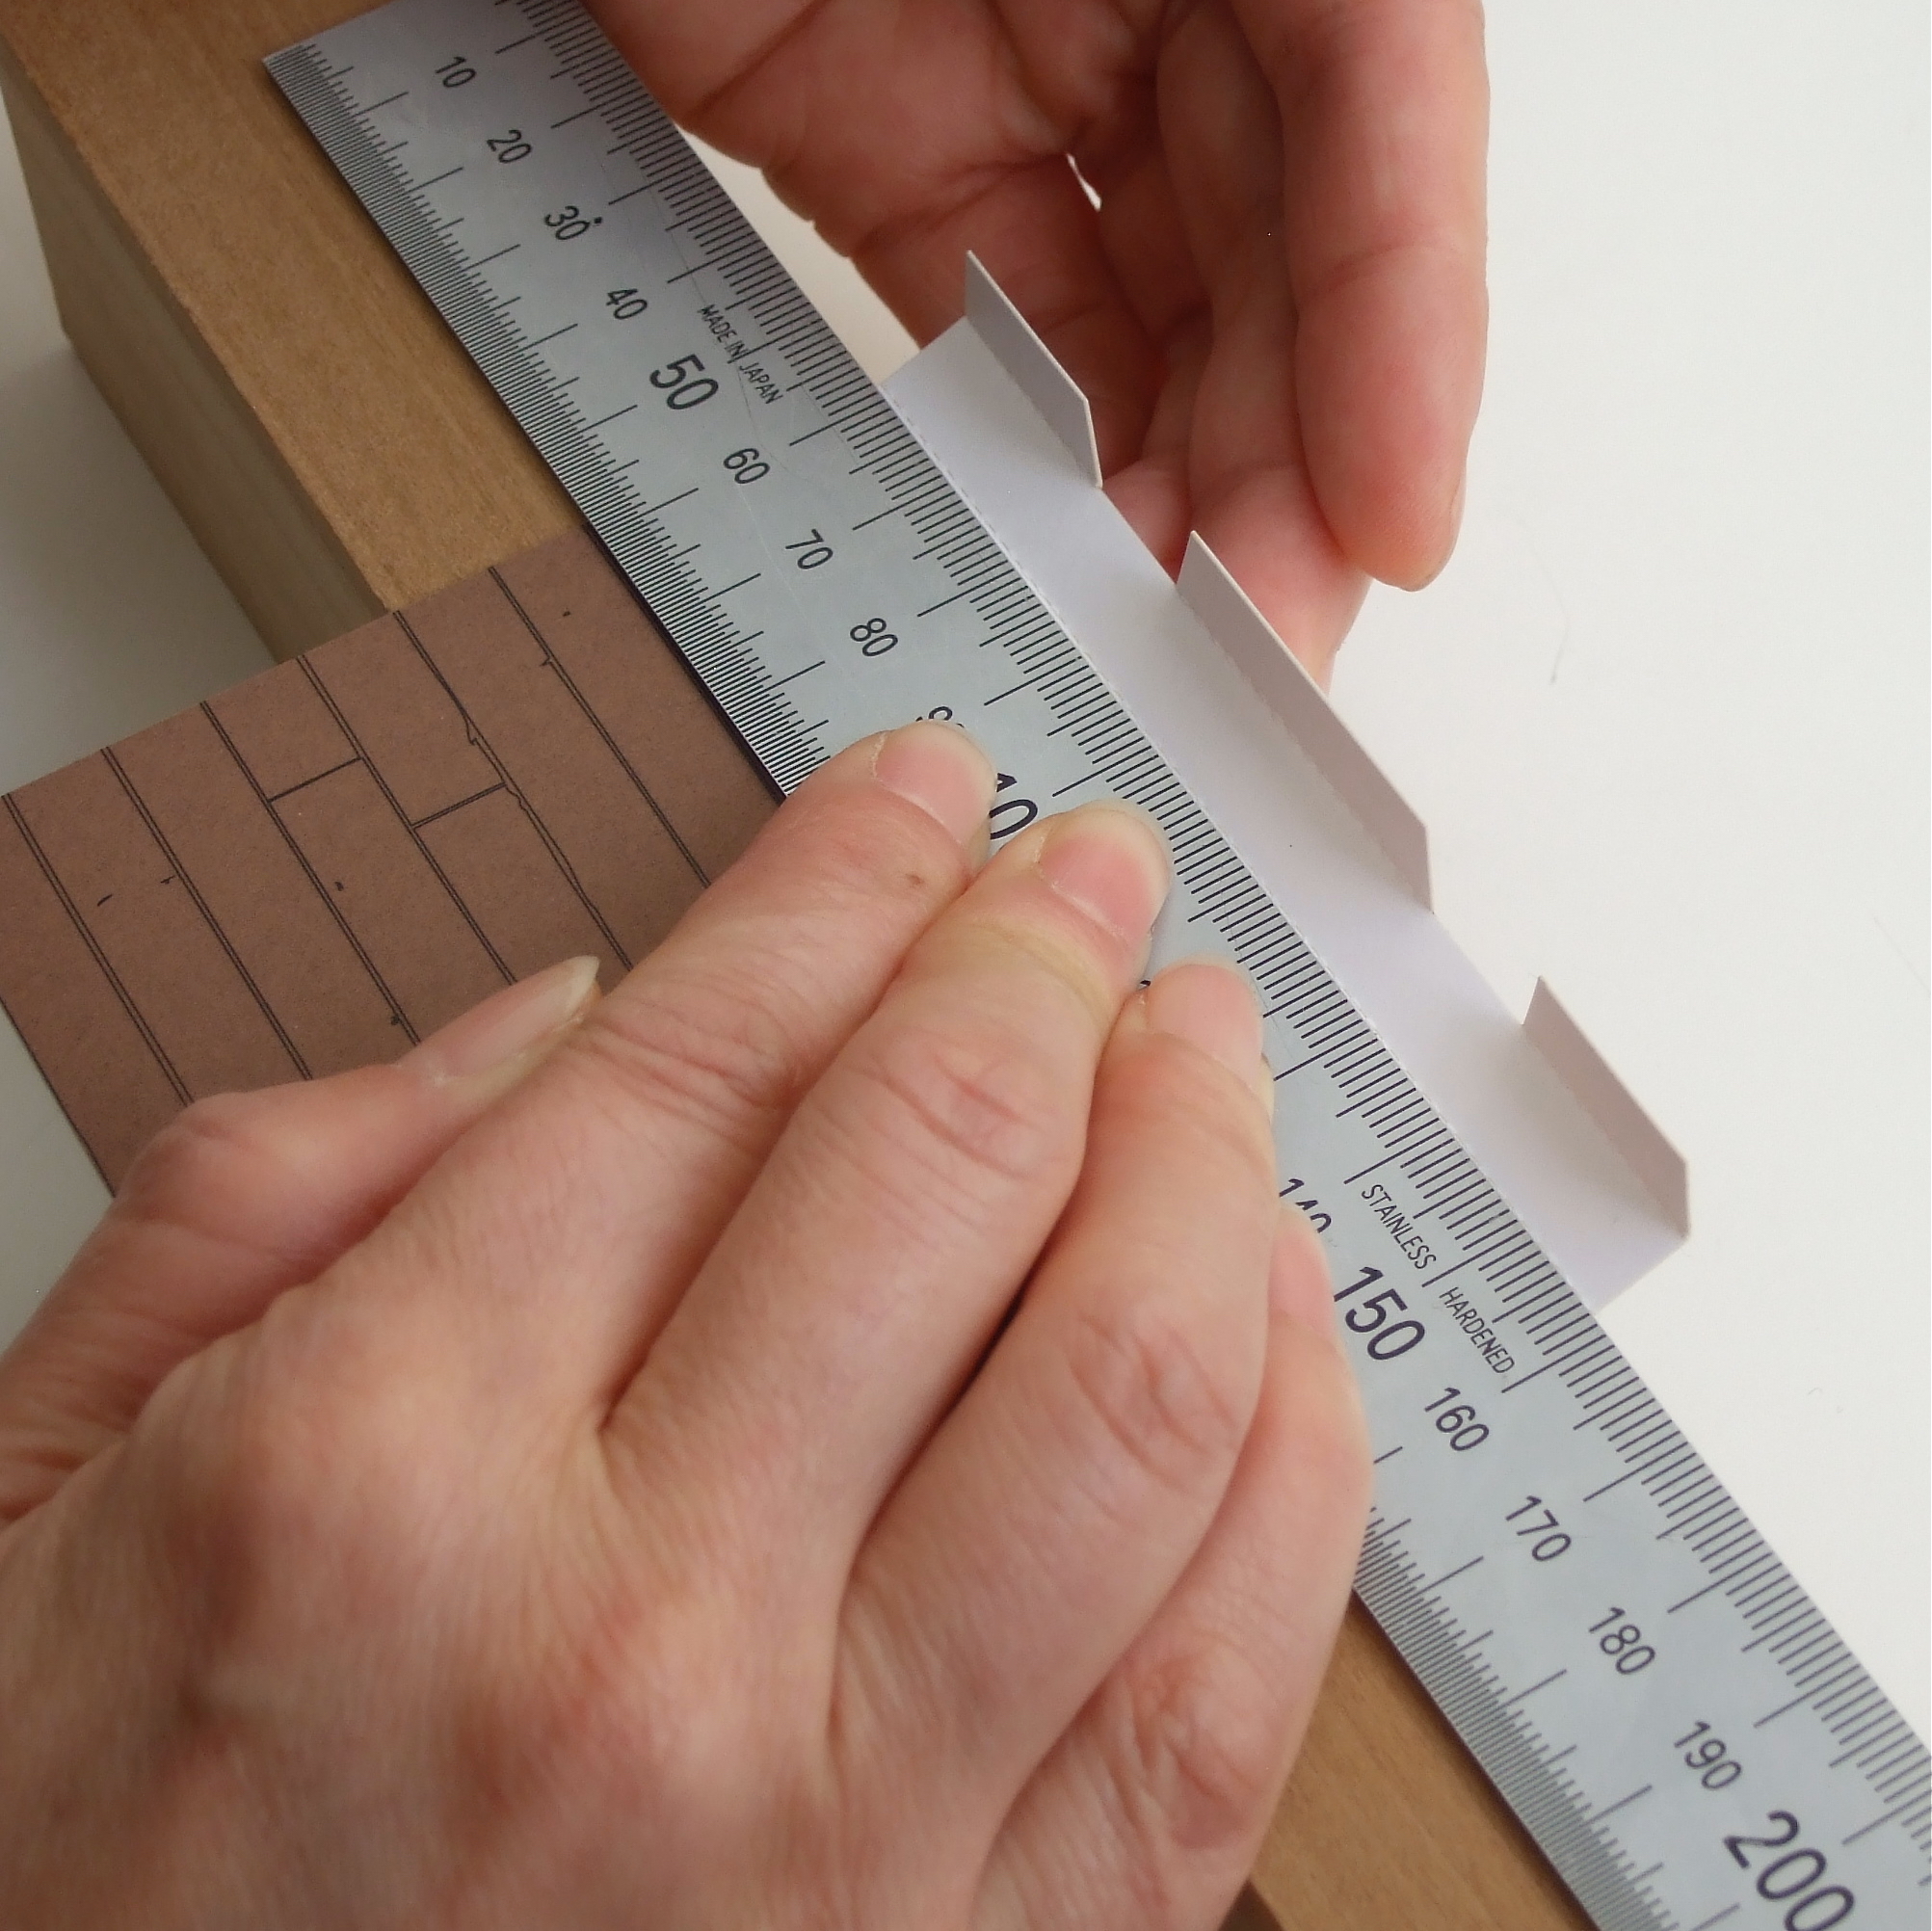
For assembling the background, you use two parts on the left, wall and floor. It is best to use the corner of an object such as a table edge or piece of wood, and a ruler, to fold lines cleanly.
背景の組み立てを説明します。左端の壁と床が部品です。レーザーの折り線を折り曲げる時、エッジの立った角材などと定規を組み合わせて使うときれいに仕上がります。


With the printed side of the WALL facing upwards, fold the bottom of the wall DOWN once, as in photo above.
With the printed side of the FLOOR facing upwards – fold UP along all three dotted lines. Fold up two small tabs as well. Then turn the wall part back-side facing upwards and glue the three ‘tongues’ of the floor at the arrowed folding line ( last photo ) so that the floor is now attached to the wall.
壁と床のカードを印刷面を上にして置き、壁の下部は山折り(うしろへ)、床の後ろになる部分は3回、谷折り(手前に)します。後でさし込みになる「舌」も2カ所、手前に折り上げます。壁を裏返し、裏に見える折り線(矢印の場所)に合わせて、床部分の3つののりしろを貼り合わせます。


Apply glue to the hatched area, and place the floor part on the back of wall part, at the line shown with arrows. Press firmly and wait until the glue is dry.
床パーツの斜線の部分に接着剤をのせ、壁パーツの裏側の矢印の線にあわせて貼りあわせます。接着が乾くまで少し待ちましょう。


Turn the floor part around then insert the two tabs into the slots below the front of the wall – it is best to insert both at the same time. Adjust the back to make the wall and floor at right-angles to each other. If you want, you can glue at the indicated points for a permanent display, or leave without glue should you wish to flat-pack the interior in the future.
床パーツを手前に折りこみ、ツノ状の2つを壁パーツの下にある切れ込みにさしこむと完成です。斜線部分に接着剤をつけ固定することもできますし、もしも背景をフラットに戻して収納する場合は、のりづけなしでも立ちます。壁と床をぴったり合わせ、後ろに出来た小さな正方形で調整して直角にします。
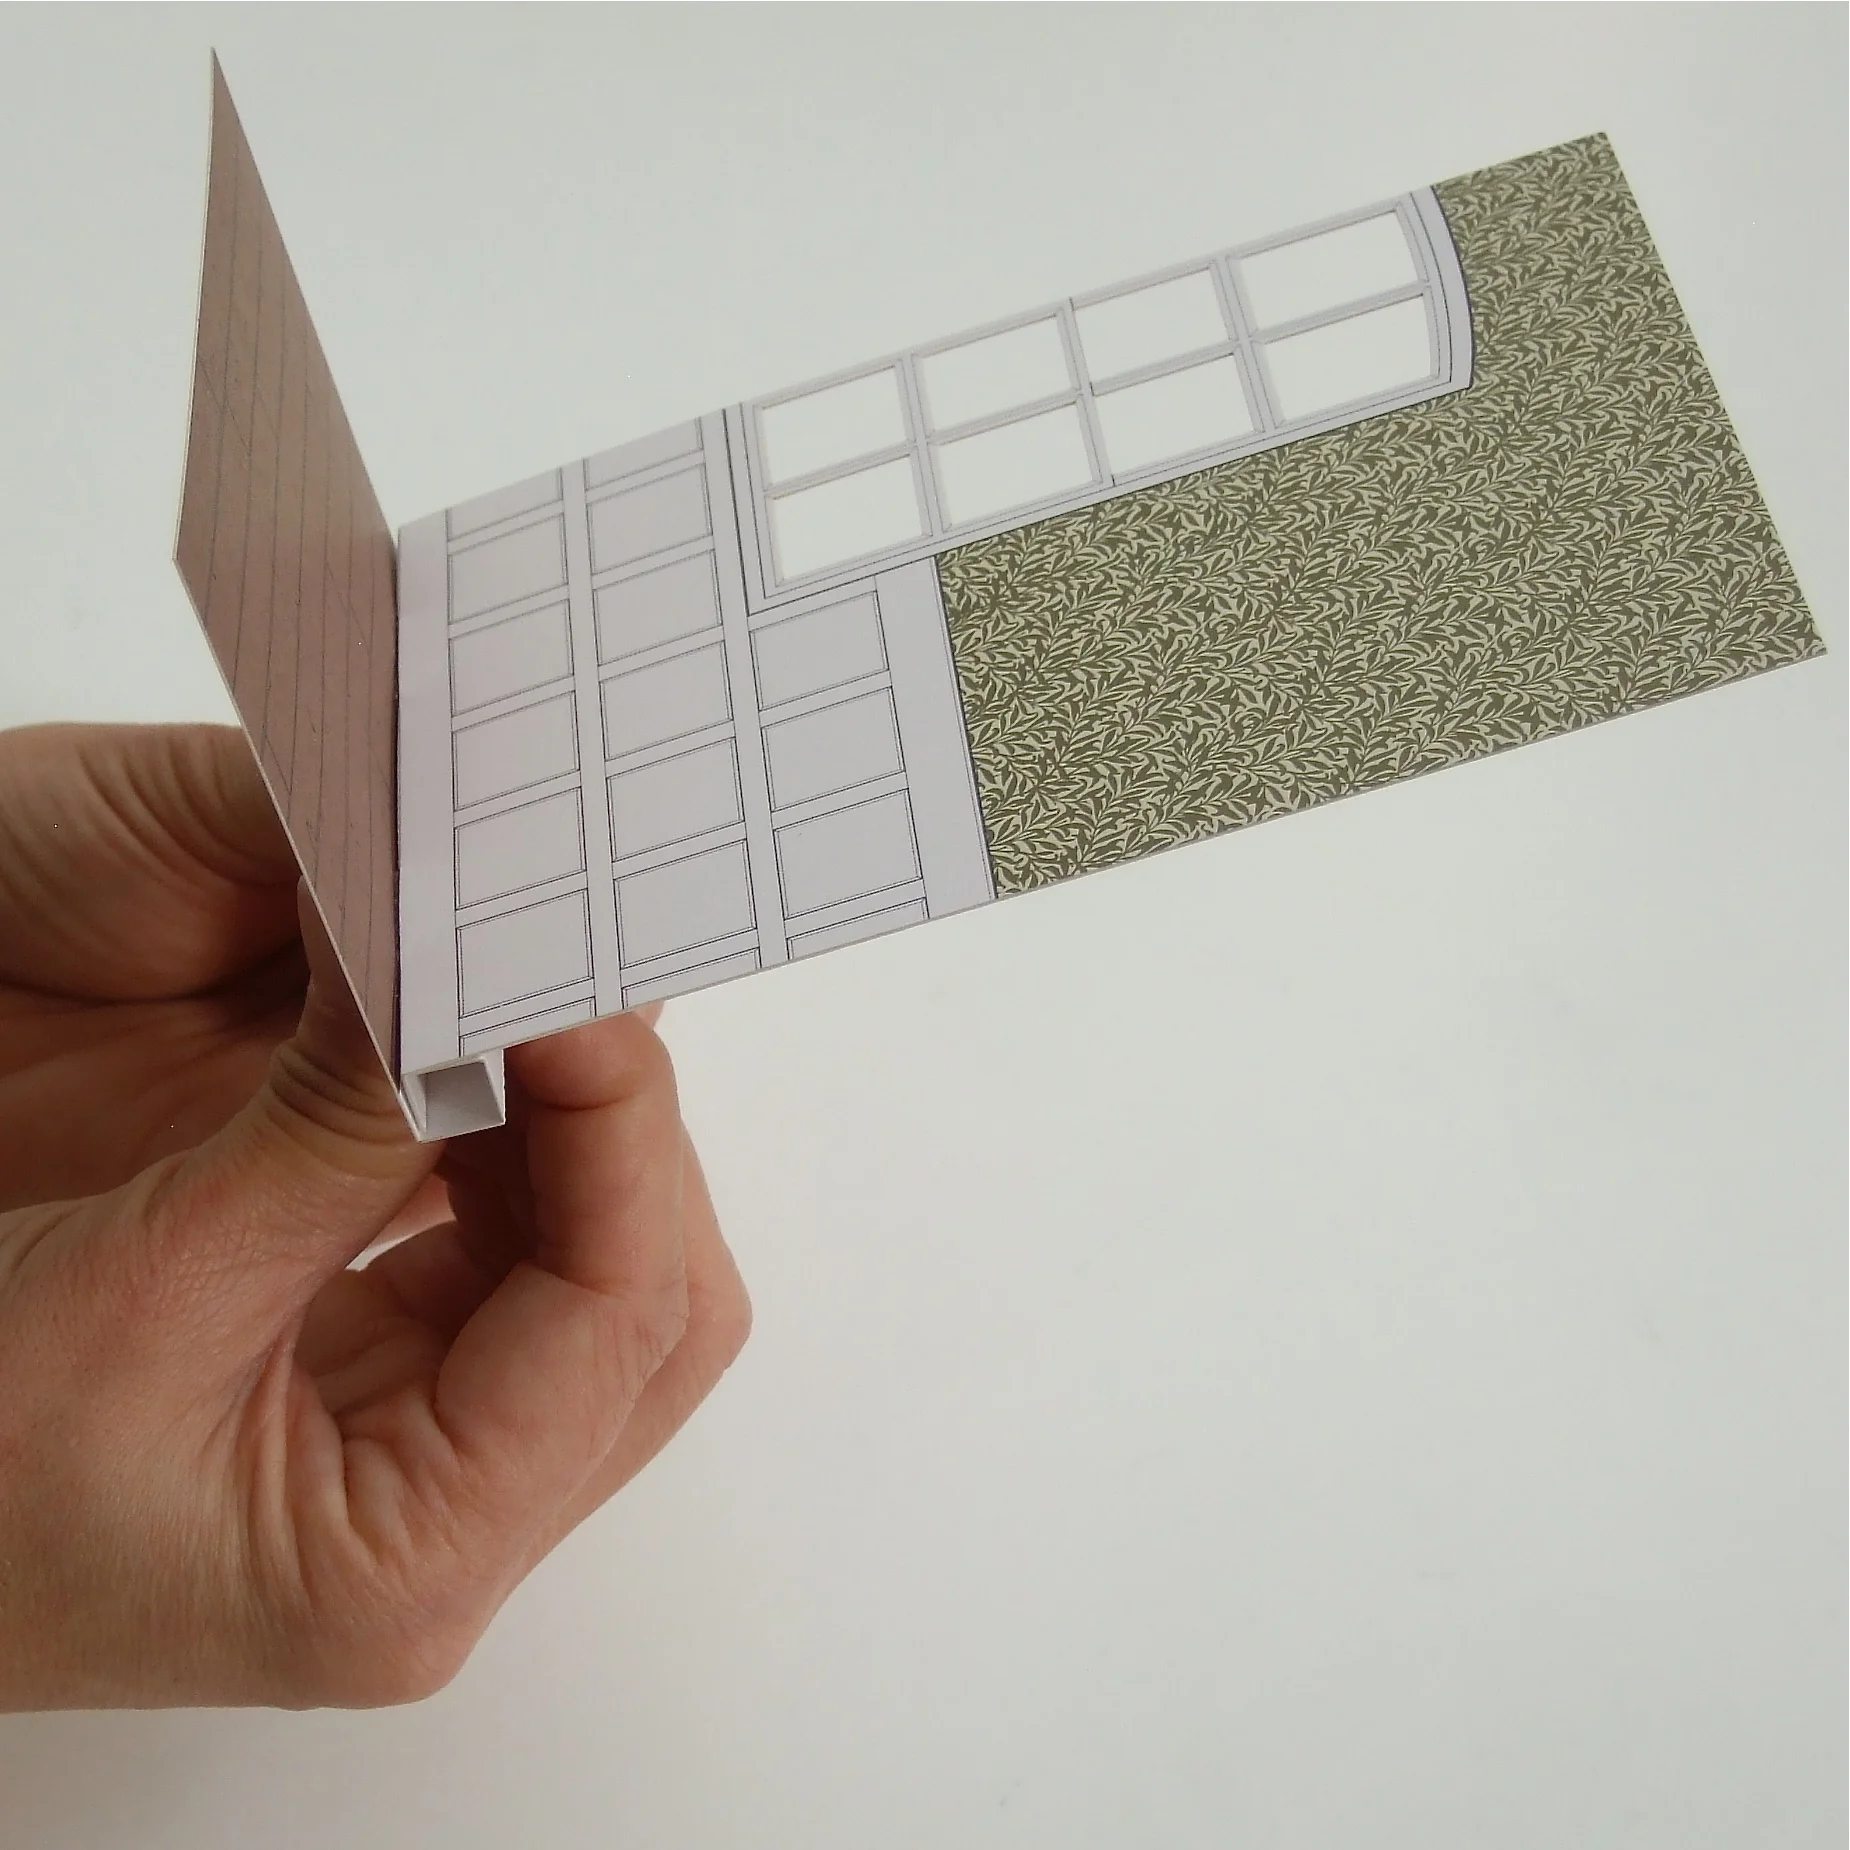

When you place the chair in the scene, the diorama is complete!
椅子を置いてジオラマの完成です。